


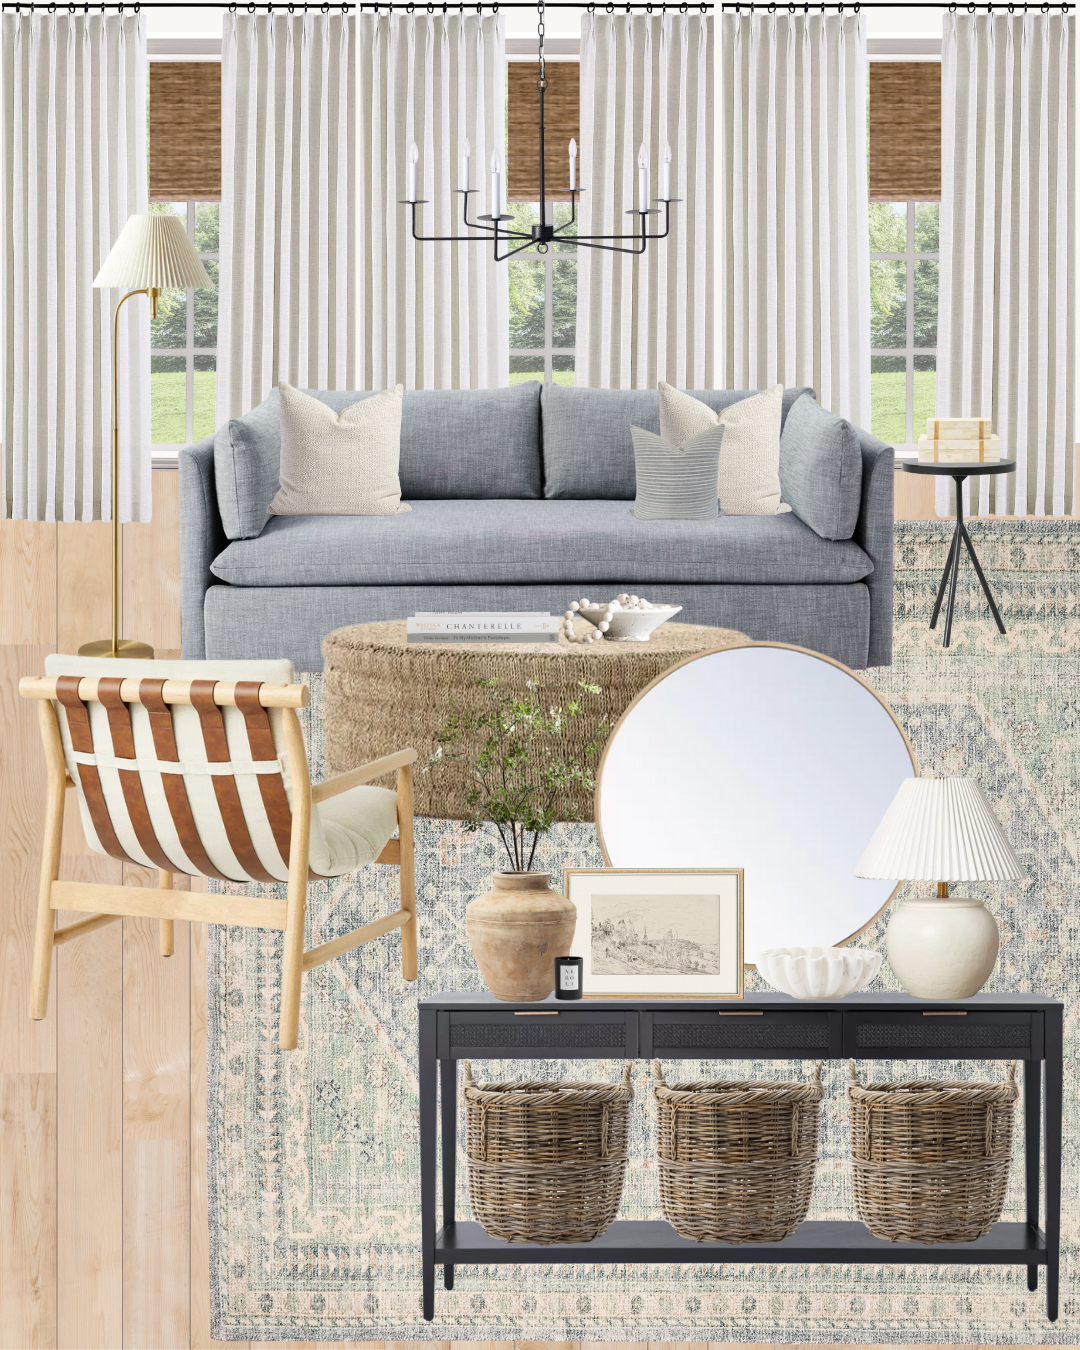
Hanging curtains can transform a room by adding style, color, and texture while also providing privacy and light control. Here’s everything you need to know to hang curtains like a pro:
- Measurements: Start by measuring your window’s width and height. For a fuller look, multiply the width by 1.5 to 3 times. Determine the curtain length by deciding if you want them to be sill, apron, floor, or puddle length.
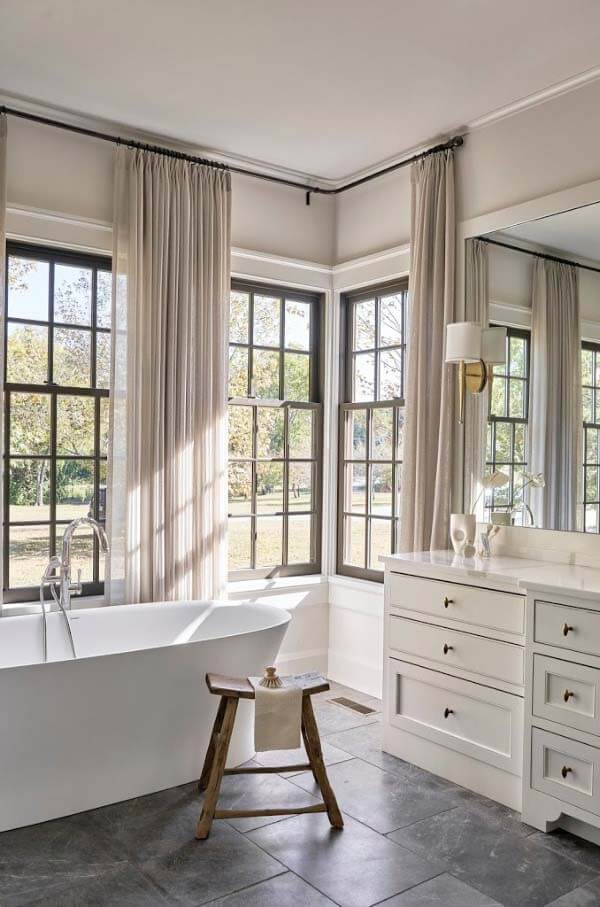
- Curtain Rods: Choose a curtain rod that complements your room’s style and can support the weight of your curtains. Extend the rod 3 to 6 inches beyond the window frame to create the illusion of a larger window and let more light in when curtains are open.
- Hanging Height: Mount the rod 4 to 6 inches above the window frame for a visually taller appearance. For a dramatic effect, consider hanging curtains closer to the ceiling (the higher the better in my option!)
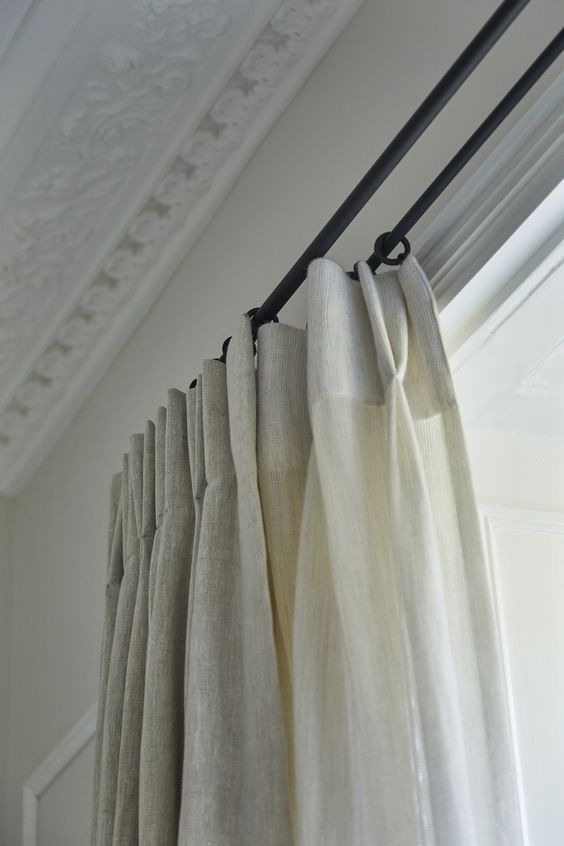
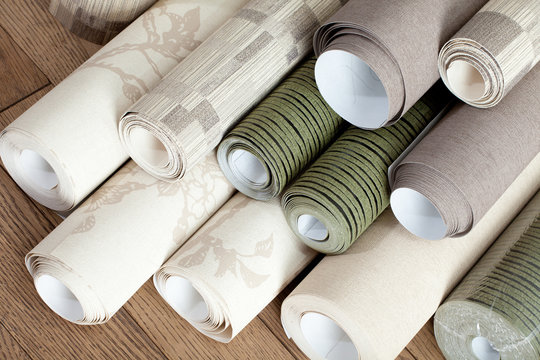
- Curtain Styles: Select curtains based on your room’s theme and desired light control. Options include sheer, blackout, or thermal curtains in various styles. My absolute favorite are these faux linen panels that I found on Amazon. They are semi-custom, pinch pleated and they are the closest thing to custom designer curtains that I’ve found on the internet. They lay beautifully and I truly cannot say enough about the quality! Mine are in the color beige white shown here:

- Hardware: Brackets and finials are essential for securing and adding decorative touches to your curtain rods. Ensure the brackets are strong enough to support your curtains and match your rod’s diameter.
- Installation: Use a level and a measuring tape to mark bracket locations on the wall. Drill holes and attach brackets with appropriate anchors or screws. Slide curtains onto the rod, insert finials, and mount the rod onto the brackets.
- Accessories: Add a finishing touch with tiebacks or holdbacks, creating a polished look while keeping curtains neatly in place when open. I don’t personally use tiebacks, but I have seen them making a comeback lately.
Let me know in the comments if this was helpful!


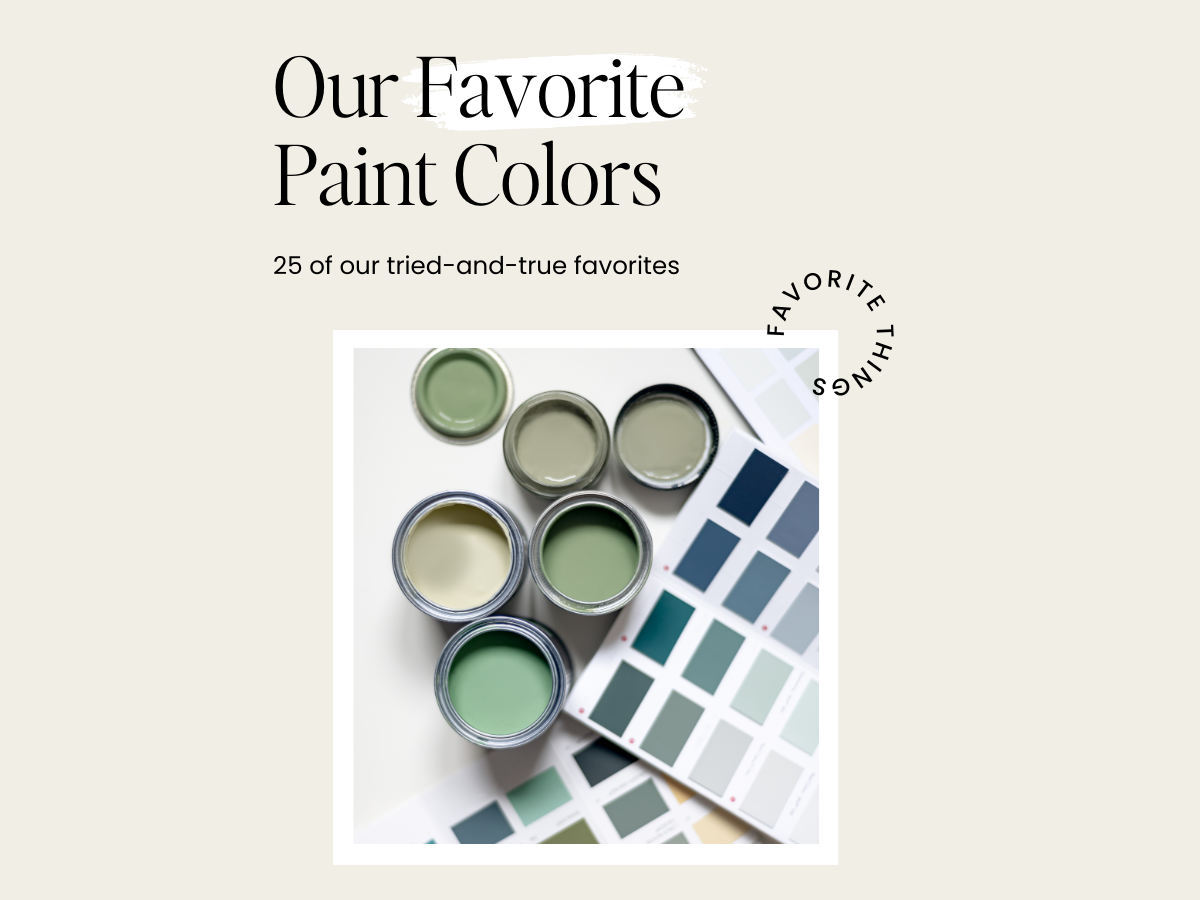

We curated a list of all of our tried and true paint colors and wrapped it all up in one pretty little document, just for you.
Snag Our Free Paint Guide

FREE DOWNLOAD


+ Show / Hide Comments
Share to: